I'm quite proud of myself in this situation because I didn't think I could actually make it fit properly... But I found a laser small enough to just barely wedge into the upper part of the lam here on ebay.
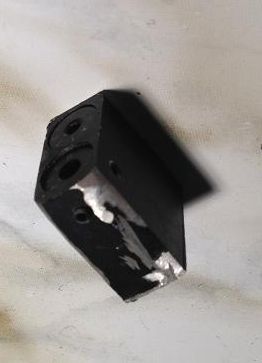
It took very little work surprisingly. I was able to cut off the original rail that the laser had on it, cut into the plastic, drill holes for windage and elevation adjustments, and set up a means of turning it on without opening it up. I'll walk you through what I did:
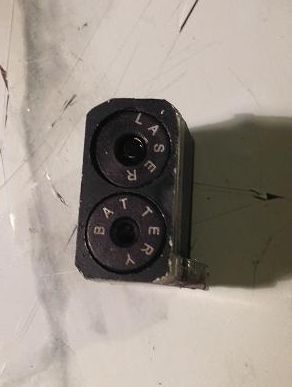
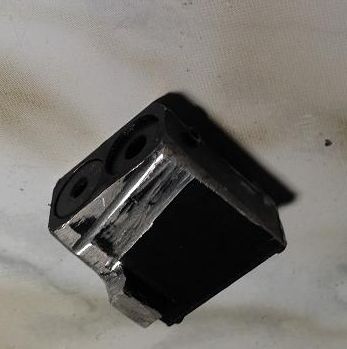
I started by hacking apart the mini laser unit. It was pretty tough to do because I'm working with shoddy tools, but I had that done in about a half hour or 45 minutes. I was making sure not to let it get too hot because I didn't want to damage the circuit board inside.
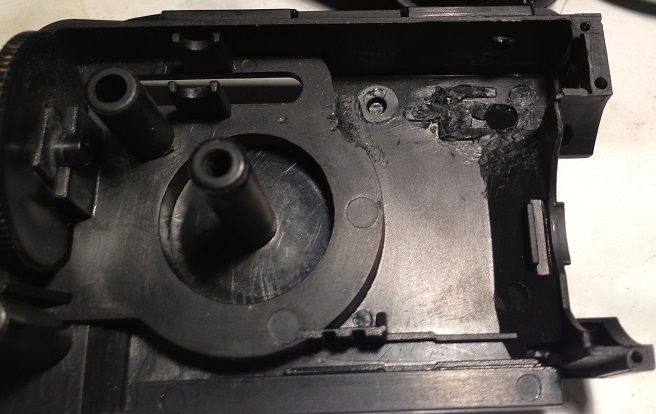
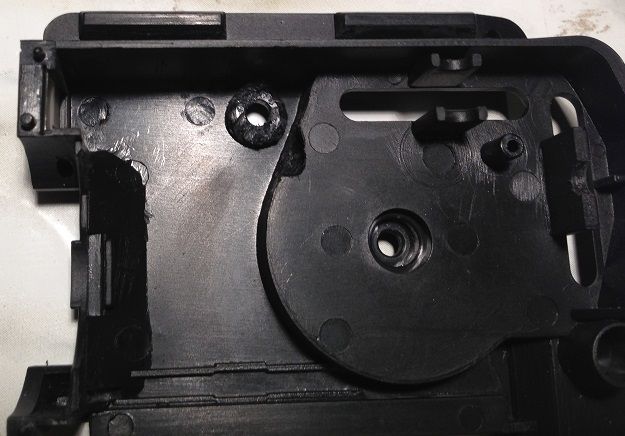
Next I started working on the LAM unit itself. Being that the TM LAM is made of plastic, it was rather easy to take care of. First I pryed the off contacts that held the original red light in there. Next I removed the top brace that accepted a screw on the top. The rail doesn't actually do much of anything besides hold the unit in place, so I was not afraid to remove this since the lam screws into the trigger guard anyways.
I couldn't fit a dremel blade in there, so I actually used the edge of a drill bit on a drill press instead. Yeah, not the right tools for the job but it worked wonderfully. I left about a 5mm gap between the side of the LAM and the laser unit inside the housing for the purpose of keeping it in line with the other side. You can go deeper, but I preferred to not risk breaching the wall of the LAM.
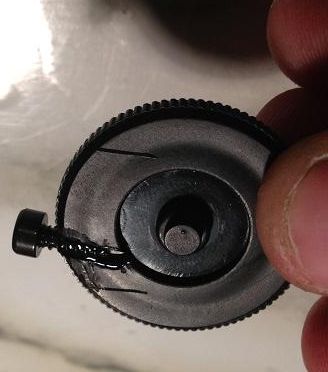
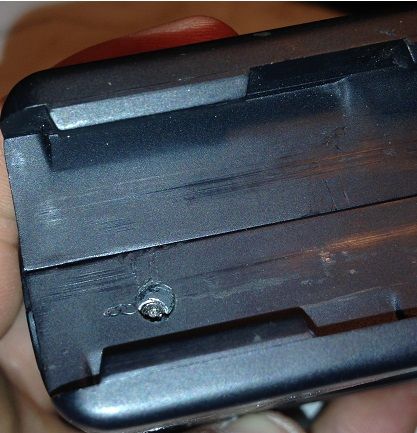
After ensuring the fitment was correct, I pulled out the little free-flying disc that looks like an adjustment knob. I marked some reference cuts on the sides to get an idea for how much room I have to work with, and then market off the area closest to the switch on the back of the laser. My plan was to make this into a functioning of and on switch for the laser light. I dremeled into it deep enough to fit a screw into it as a bumper to activate the switch. Then I recycled the screw that belonged to the bracket I removed from inside. I also doused it with a good lot of super glue for measure.
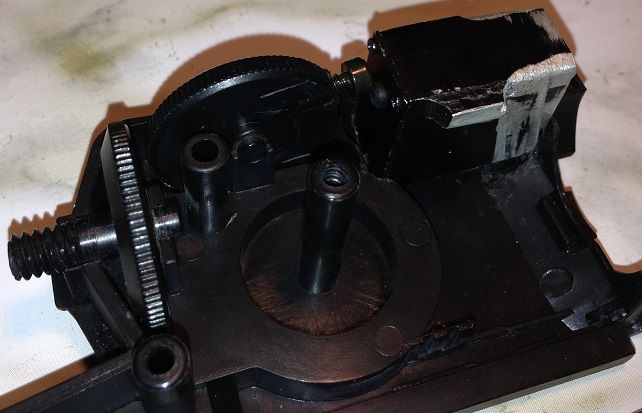
And here are some pictures of it fitted into the LAM touching the switch.
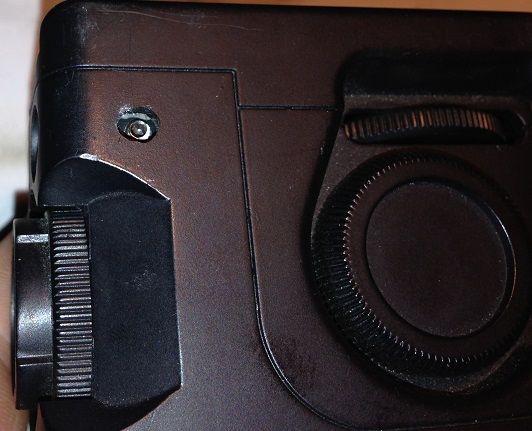
I also cut holes into the sides and top for windage and elevation adjustments. The top is a pain to get to, but once it is set it will not need to be changed thanks to the magical TM buckings on the gun being so consistent.
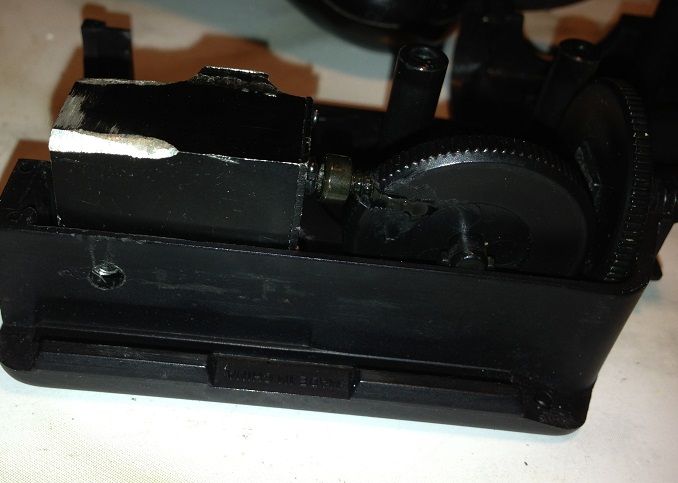
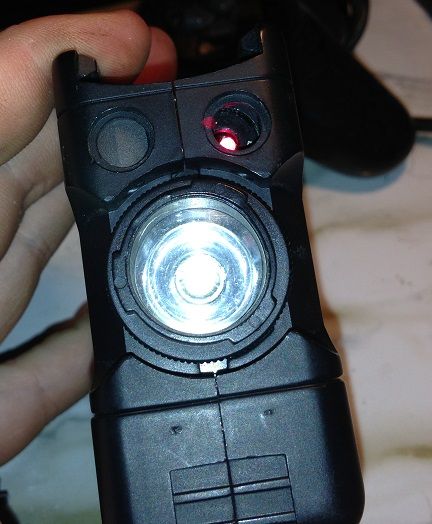
And here it is finished.
All in all it took roughly 3-4 hours to do... Completely winged it but it worked out just fine. Should only take about 2-3 hours with the proper tools and a decent idea for a plan of attack! =)
It took very little work surprisingly. I was able to cut off the original rail that the laser had on it, cut into the plastic, drill holes for windage and elevation adjustments, and set up a means of turning it on without opening it up. I'll walk you through what I did:
I started by hacking apart the mini laser unit. It was pretty tough to do because I'm working with shoddy tools, but I had that done in about a half hour or 45 minutes. I was making sure not to let it get too hot because I didn't want to damage the circuit board inside.


Next I started working on the LAM unit itself. Being that the TM LAM is made of plastic, it was rather easy to take care of. First I pryed the off contacts that held the original red light in there. Next I removed the top brace that accepted a screw on the top. The rail doesn't actually do much of anything besides hold the unit in place, so I was not afraid to remove this since the lam screws into the trigger guard anyways.
I couldn't fit a dremel blade in there, so I actually used the edge of a drill bit on a drill press instead. Yeah, not the right tools for the job but it worked wonderfully. I left about a 5mm gap between the side of the LAM and the laser unit inside the housing for the purpose of keeping it in line with the other side. You can go deeper, but I preferred to not risk breaching the wall of the LAM.


After ensuring the fitment was correct, I pulled out the little free-flying disc that looks like an adjustment knob. I marked some reference cuts on the sides to get an idea for how much room I have to work with, and then market off the area closest to the switch on the back of the laser. My plan was to make this into a functioning of and on switch for the laser light. I dremeled into it deep enough to fit a screw into it as a bumper to activate the switch. Then I recycled the screw that belonged to the bracket I removed from inside. I also doused it with a good lot of super glue for measure.

And here are some pictures of it fitted into the LAM touching the switch.


I also cut holes into the sides and top for windage and elevation adjustments. The top is a pain to get to, but once it is set it will not need to be changed thanks to the magical TM buckings on the gun being so consistent.


And here it is finished.

All in all it took roughly 3-4 hours to do... Completely winged it but it worked out just fine. Should only take about 2-3 hours with the proper tools and a decent idea for a plan of attack! =)