

Hey guys,
I haven't been online for quite some time due to school, work, etc. etc.
I noticed that we didn't have a how to make a ghillie thread any more, and since I'm making a new ghillie I thought what the hell I'll make a ghillie making tutorial.
First of all, I'll probably say some things that other people said before me, like Ghillie Arnhem, the guys of the Art of Camouflage and lots of other people whose name I can't remember.
I want to thank them all for their info and don't get mad if I quote you.
some extra ghillie making info:
- building a ghillie takes a lot of time and effort. its usually not something you do in 1 afternoon.
- be sure to gather lots of info about constructing your ghillie before building one and don't forget where the info is stored, you'll need it as well when making the ghillie. you don't want to be starting all over with a new ghillie because the first one failed.
- Don't use any black! Black is not a natural color, you could instead use very dark brown or even very dark green.
- take jute for grassy areas, and burlap strips for leafy areas.
- when making your ghillie, either do it in the area you will play in, or take a pic so you know what colors to use.
Step I:
Buying the materials you need!
for my ghillie suit I used:
burlap (I destringed it after I had dyed it)
my BDU
a separate hood piece
netting on the backside of camo netting.
scissors
textile glue (I used Bison, but don't know if it's available outside the Netherlands)
dye (Dylon Dark brown, olive green, jungle green and pebble beige)
salt
buckets
and last of all a comfy chair and a good movie.
Step II:
sewing or gluing the netting.
you can either sew or glue your netting on your BDU's or flight suit.
sewing takes a lot of time and you need thread which is very strong.
If you don't have very strong thread, you can use normal thread.
All you have to do with the normal thread is sew more on the same place every time so eventually you'll have the same strength of the strong thread.
What I did was glue my netting on my BDU's, this is less time consuming, but it can be less strong then sewing it on.
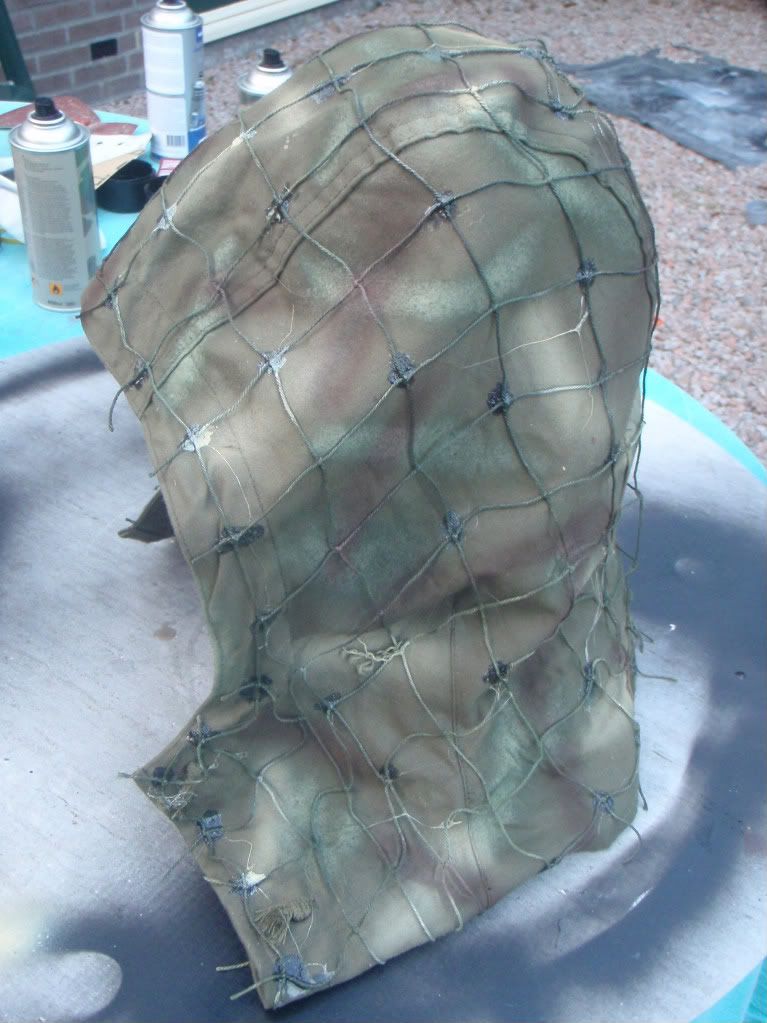
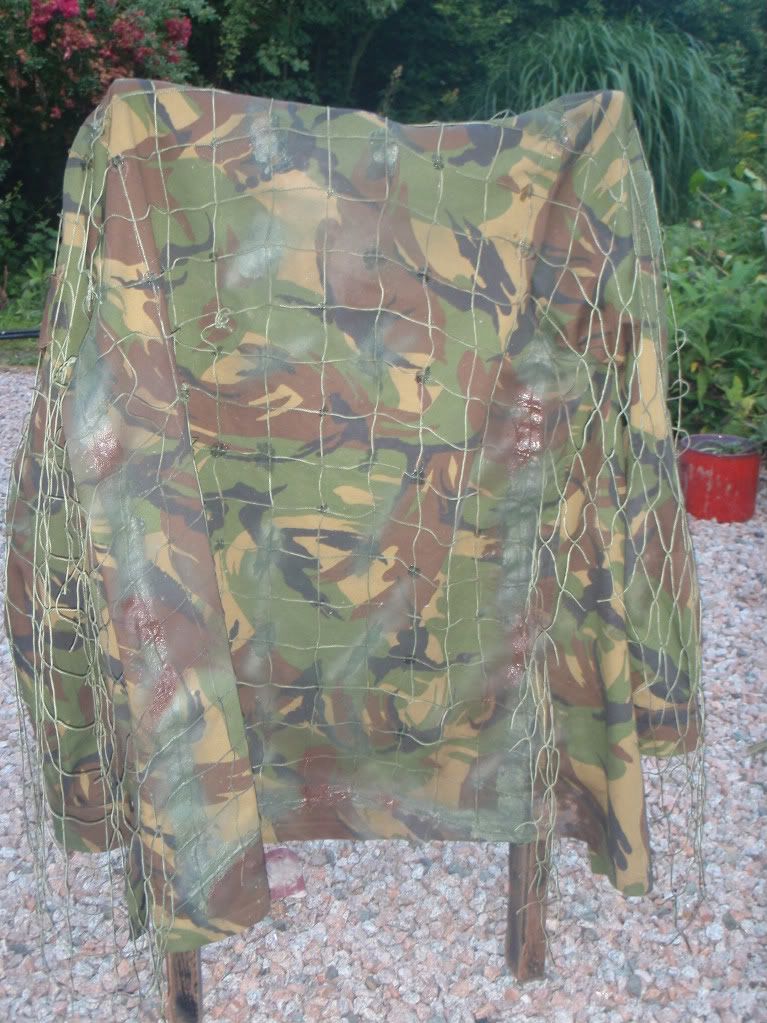
here are some pics of my hood and my jacket both with the netting on.
![Image]()
![Image]()
Step III:
cutting the burlap in smaller pieces so it's easy to handle when soaking it in the dye.
don't cut it in strips of 1" because you will loose half of the burlap you bought. it's best to make squares of about 50x50 cm so all the jute you get out is equally long.
Step IV:
dyeing the burlap
Just read the instructions on the package of the dye, don't do what it says and fill a bucket with warm water, add some salt(should taste like the sea or something similar) add some of the dye and stir.
now grab your burlap and soak it in the dye, depending how much dye and water you used, you should leave it in there until you get the desired color. What I did was fill one bucket with green dye and one bucket with brown dye, so I could soak it in one then get all the water out and soak it in the other one so you never get the same color twice.
When the desired color is obtained, you let your burlap dry, but before it's completely dry, you want to start and destring your burlap, since burlap is easier to destring when wet.
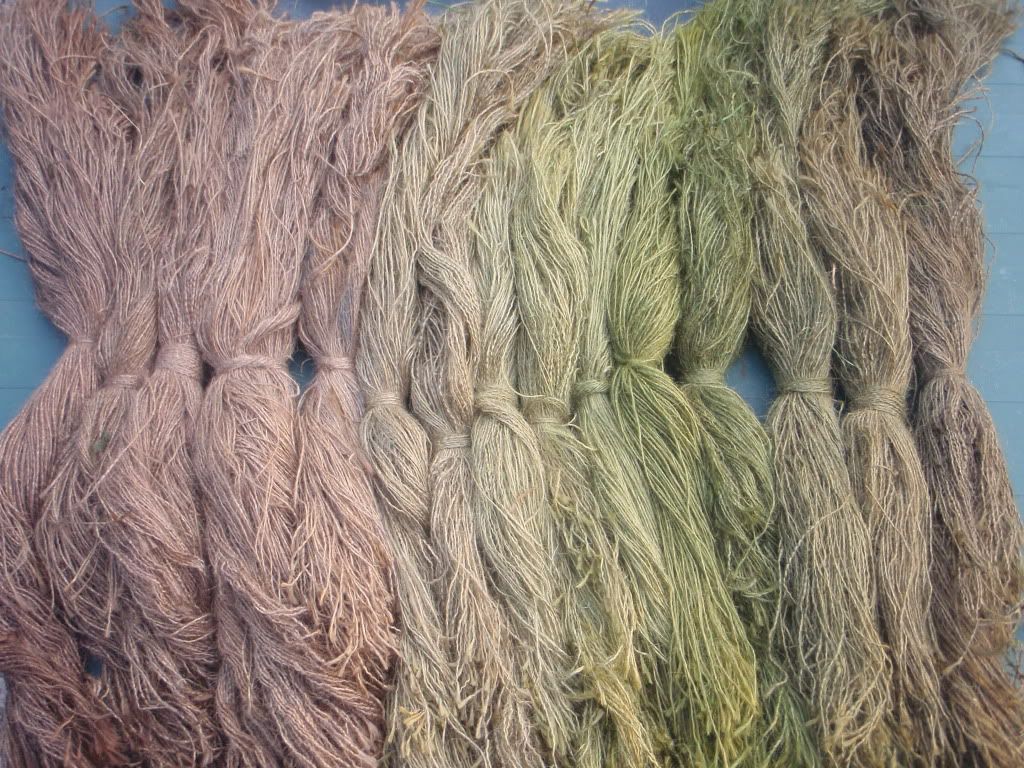
some of my burlap in different colors.
![Image]()
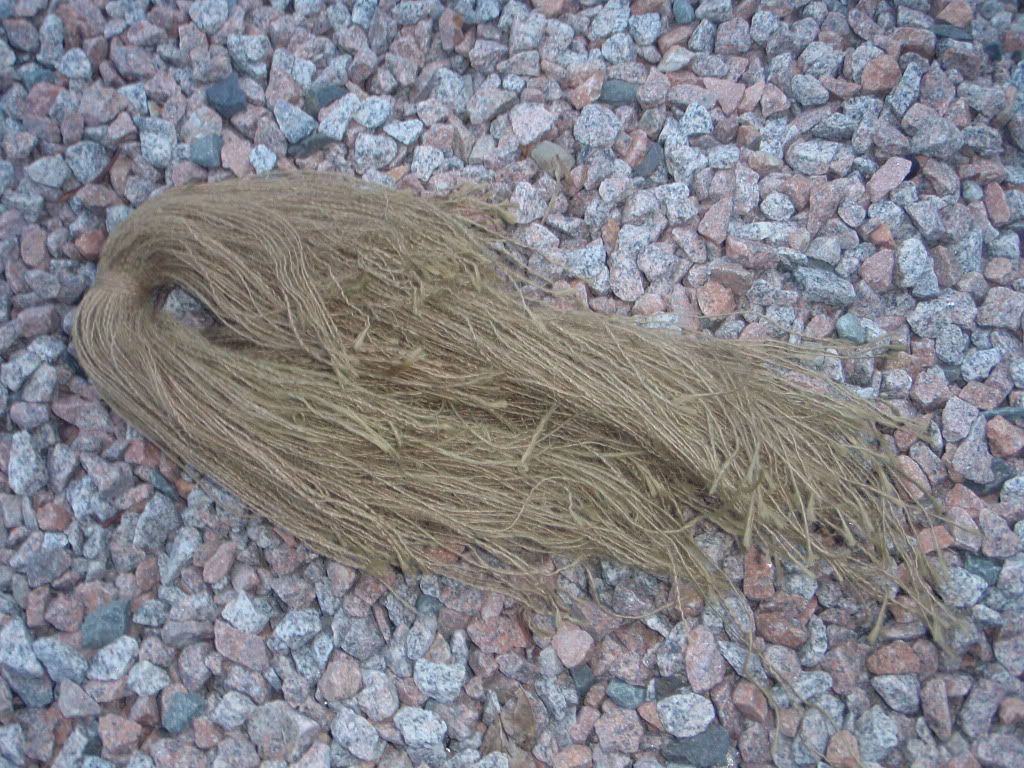
Burlap destringed (jute).
![Image]()
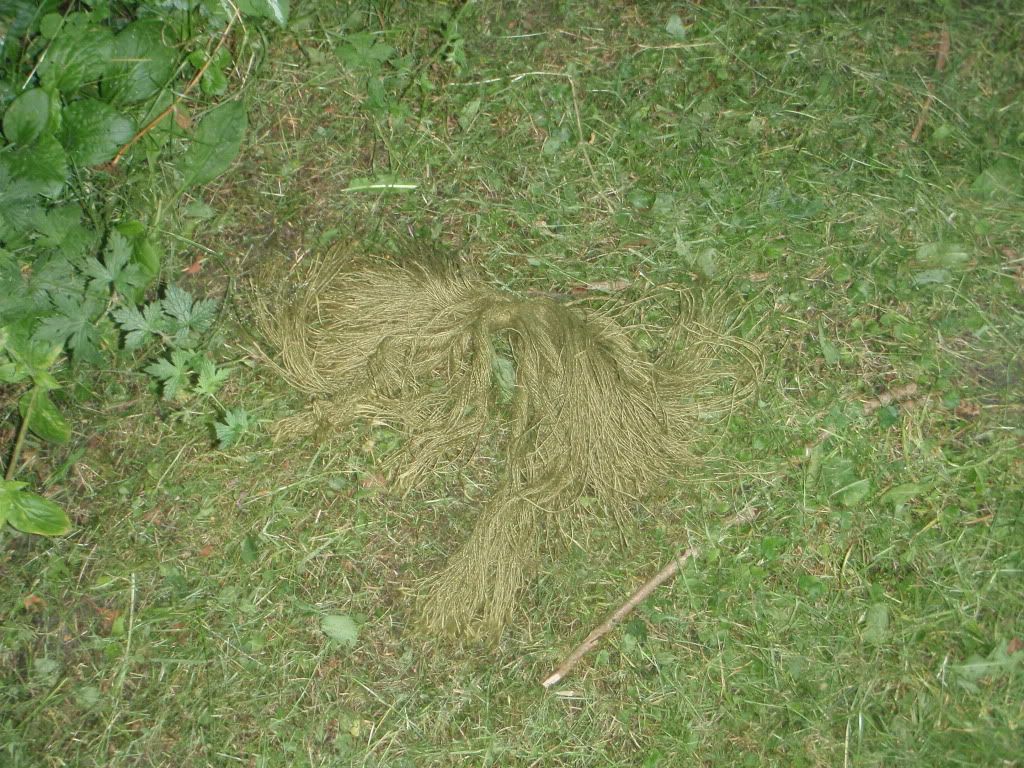
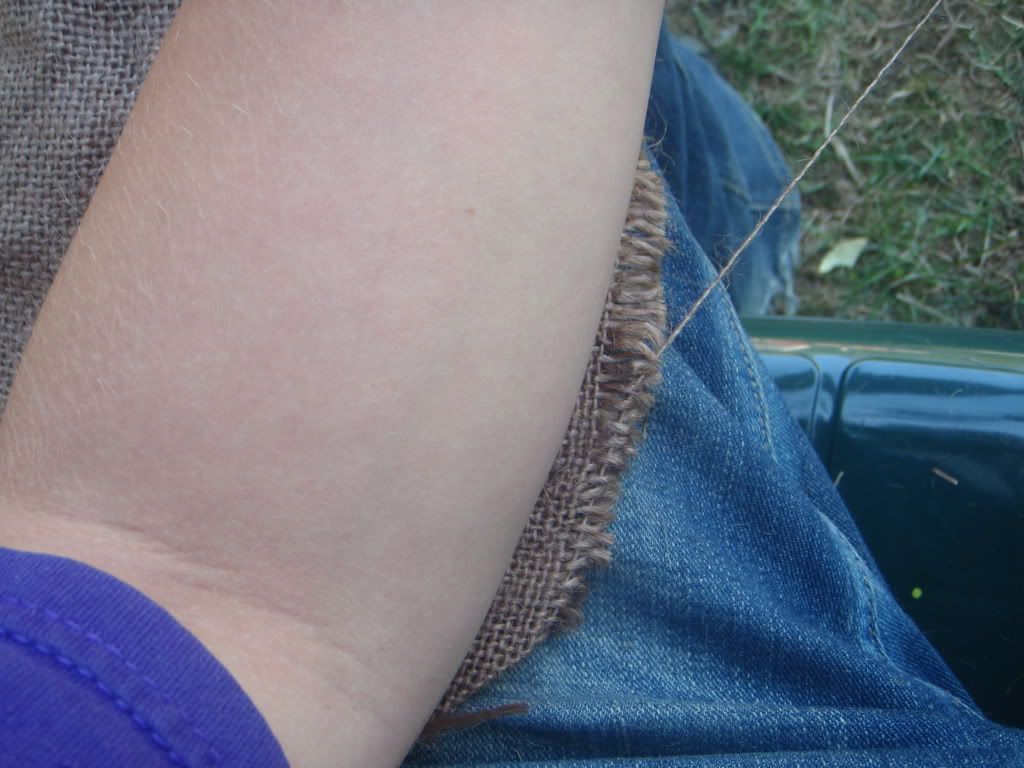
my jute's camo qualities
![Image]()
![Image]()
Step V:
destringing your burlap.
Destringing your burlap is, like everything else, time consuming.
this is how you do it :
1. grab a thread
2. hold the other end of the burlap, either place rocks on it or hold
it in place with your feet.
3. pull the thread away from the burlap and toward you.
(sometimes you can do 2 threads together)
4. place the jute so that the middle of every thread is on the same
place.
5. when you have 3 threads left over, start pulling out the other
threads.
6. With the 3 left over threads, you will tie the bundle of jute
together.
7. put the bundle away and start on the next piece of burlap.
8. repeat until you destringed all the burlap.
Destringing:
![Image]()
pic of all my jute:
![Image]()
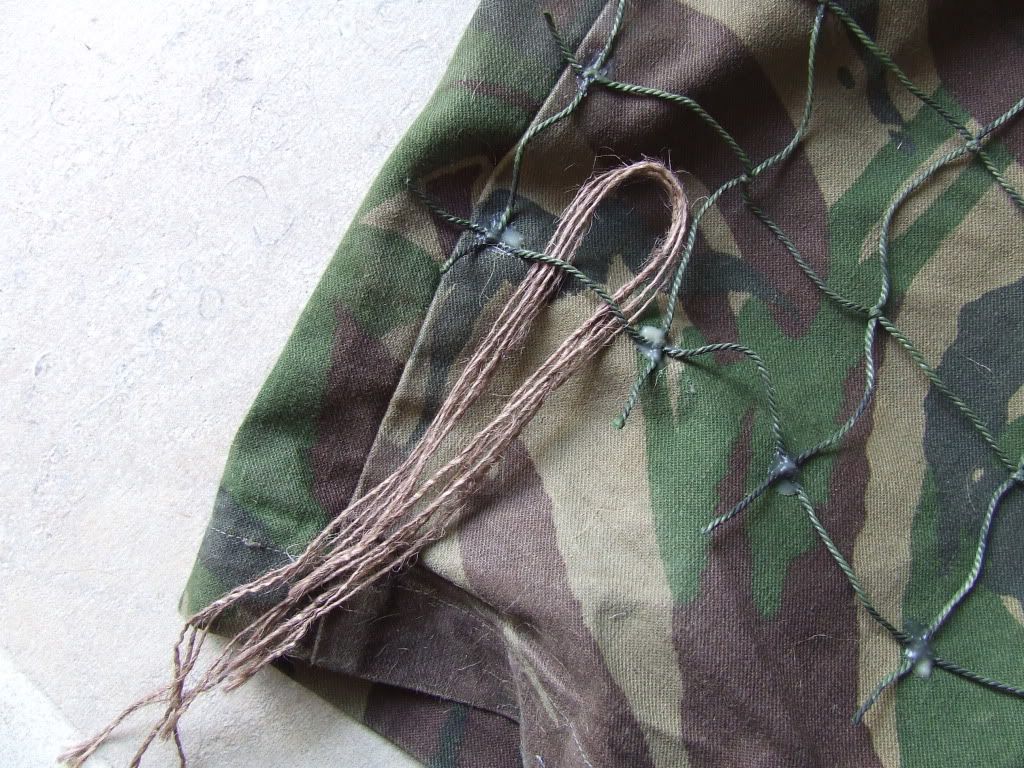
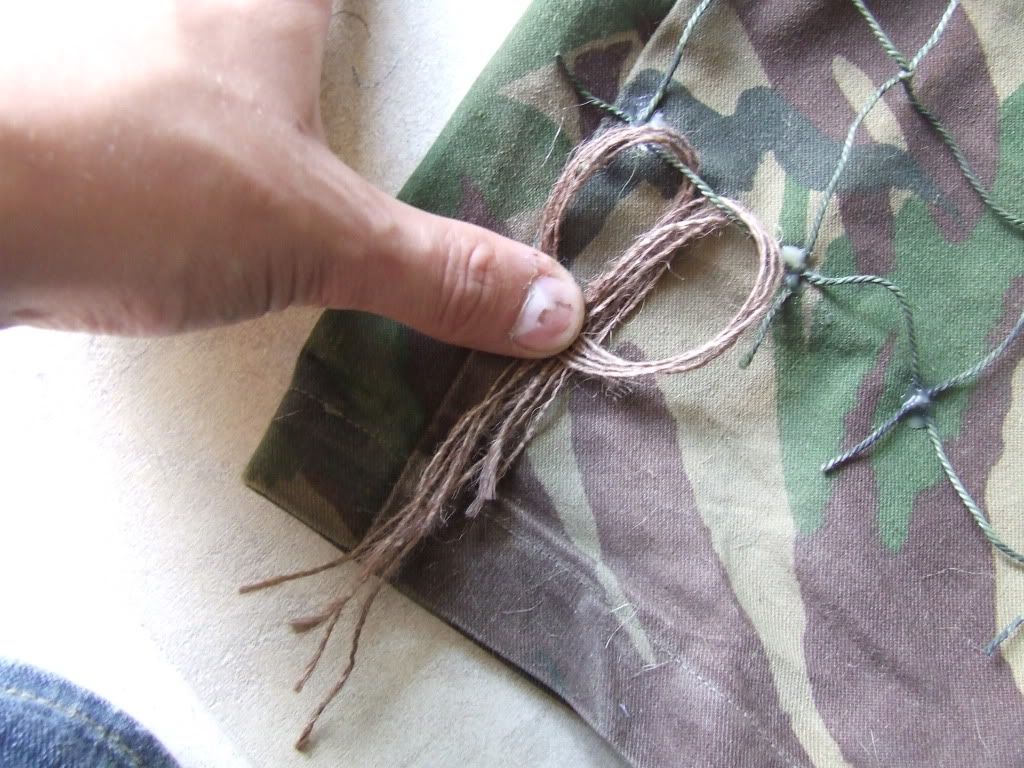
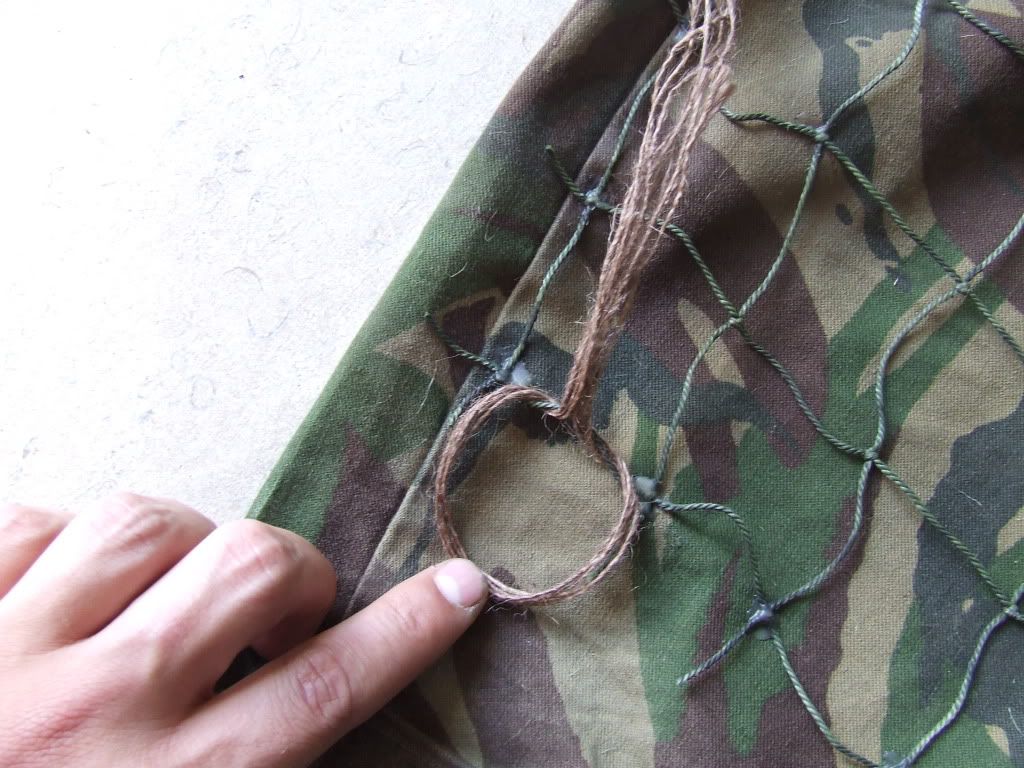
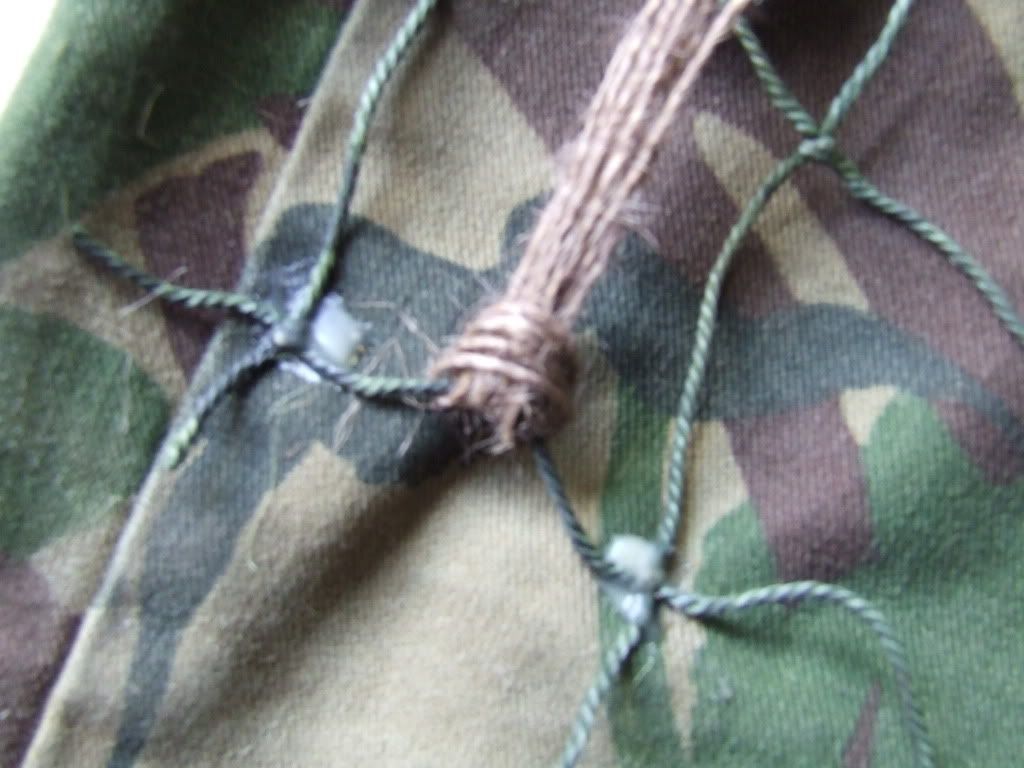
Step VI
tying in the burlap.
tying the jute on the netting can be done on different ways.
you can loop it underneath the netting, pull both ends through the loop and pull it tightly.
here is how to loop the jute step by step:
![Image]()
![Image]()
![Image]()
![Image]()
you could also tie in the jute by making overhand knots, this is quite useful to do on top off the head piece, so it won't all fall down.
*UPDATE*
After a few months I've decided it was time to finish my ghillie and upload this tutorial.
I've tied in all the jute and made some burlap strips, which I tied in at random spots.
I did this because I thought it was too green, and it was all jute.
The burlap strips act as "leaves" and adds more brown to my ghillie.
I dyed the burlap in 3 different tones of brown, light, medium and a bit darker.
When they were dry, I sprayed glue on it so that the burlap stays the way it is. I then cut it in strips of about 1 inch and pulled some jute on one end of it so it's not that straight.
I cut the other end in the middle for about 3 inches so I could tie it in my netting.
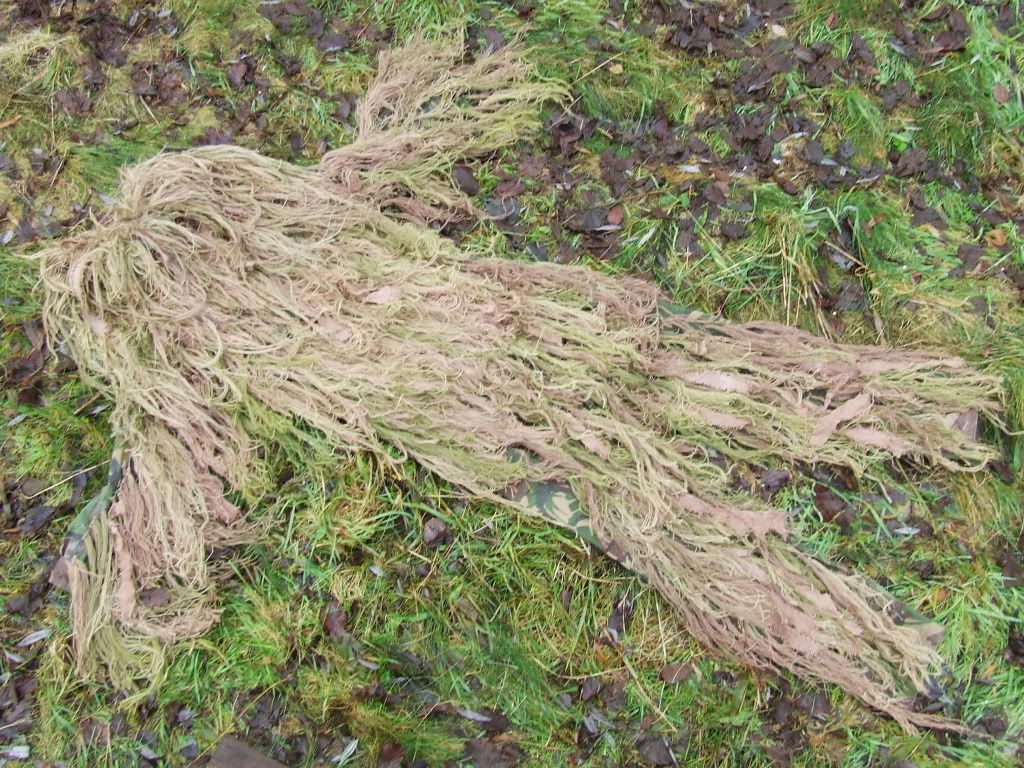
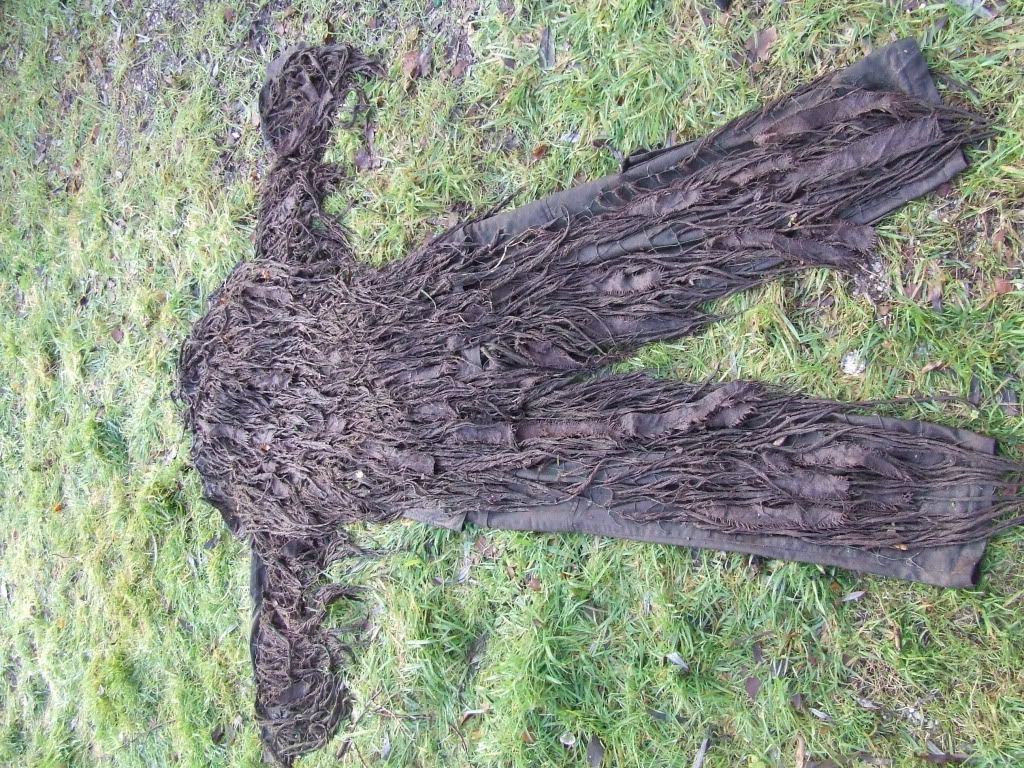
Its almost done now, all I have to do is break it in but I wanted to take some pics so you could see the difference.
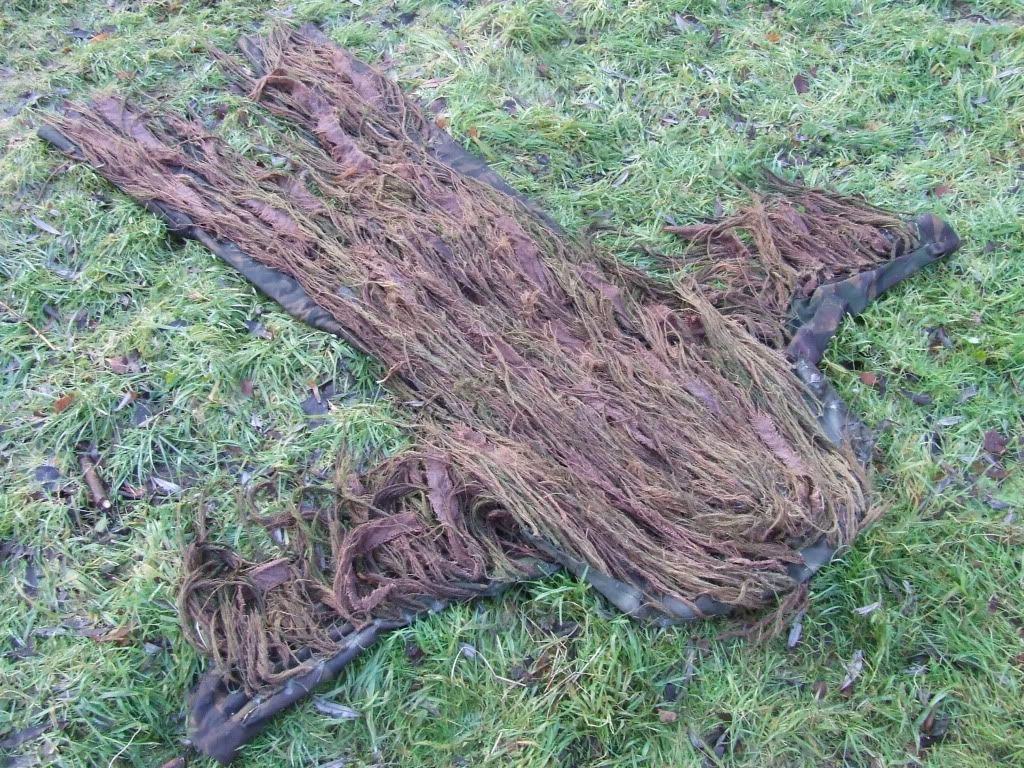
Here are some pics of it just lying in my backyard without any vegetation.
![Image]()
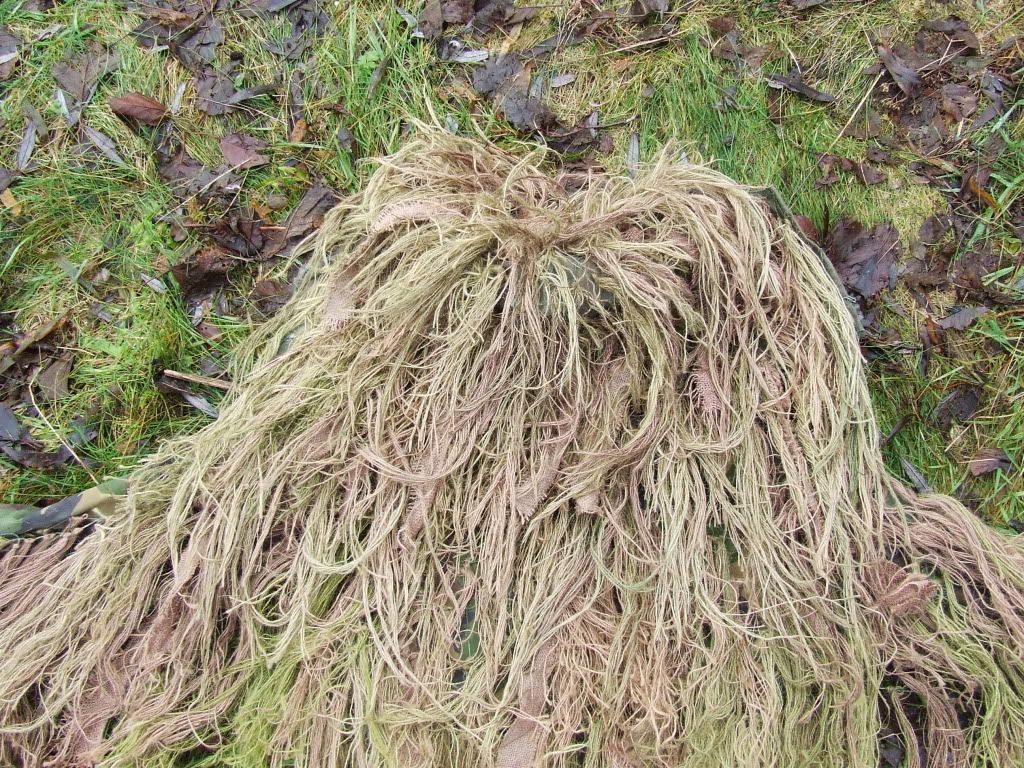
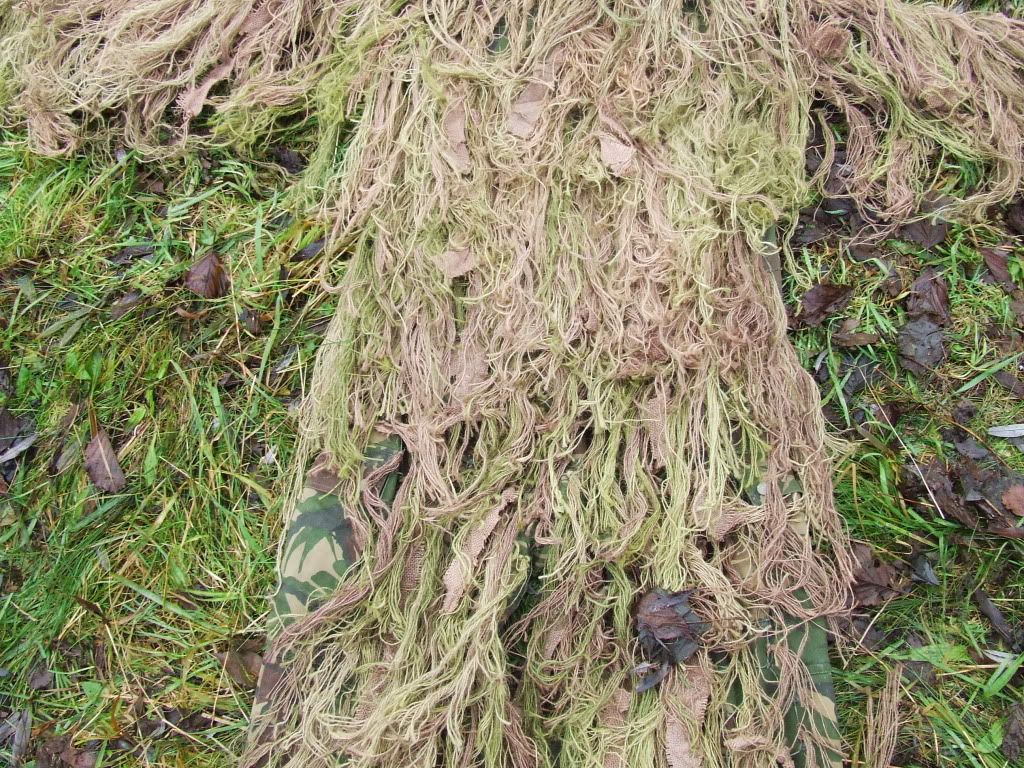
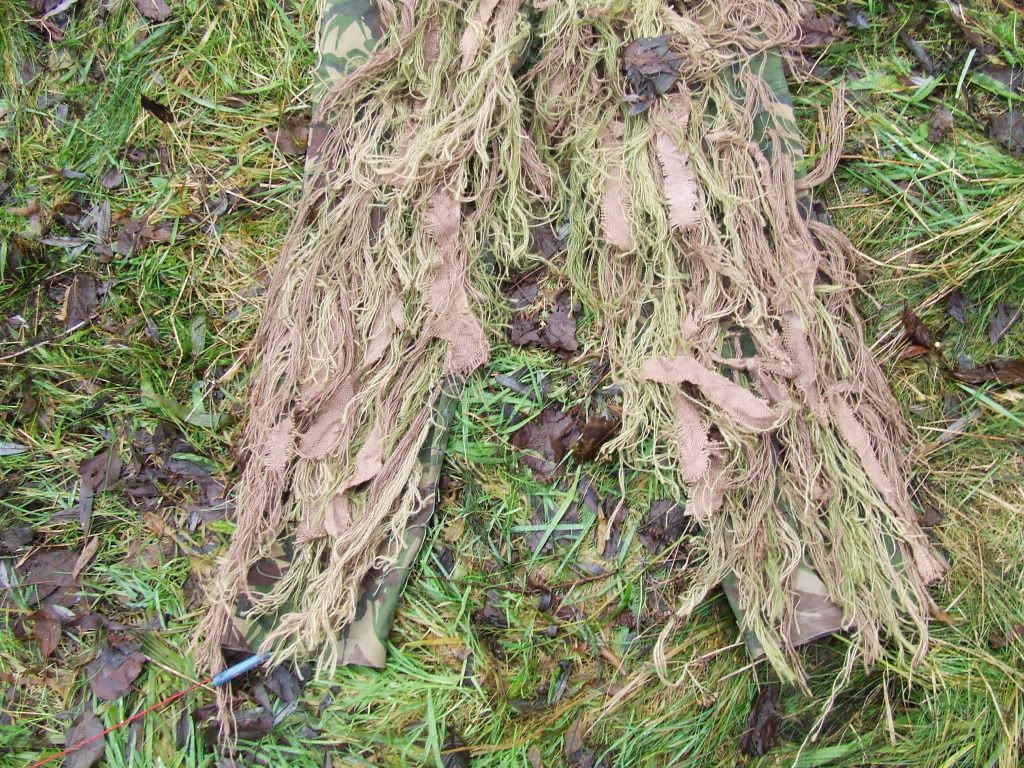
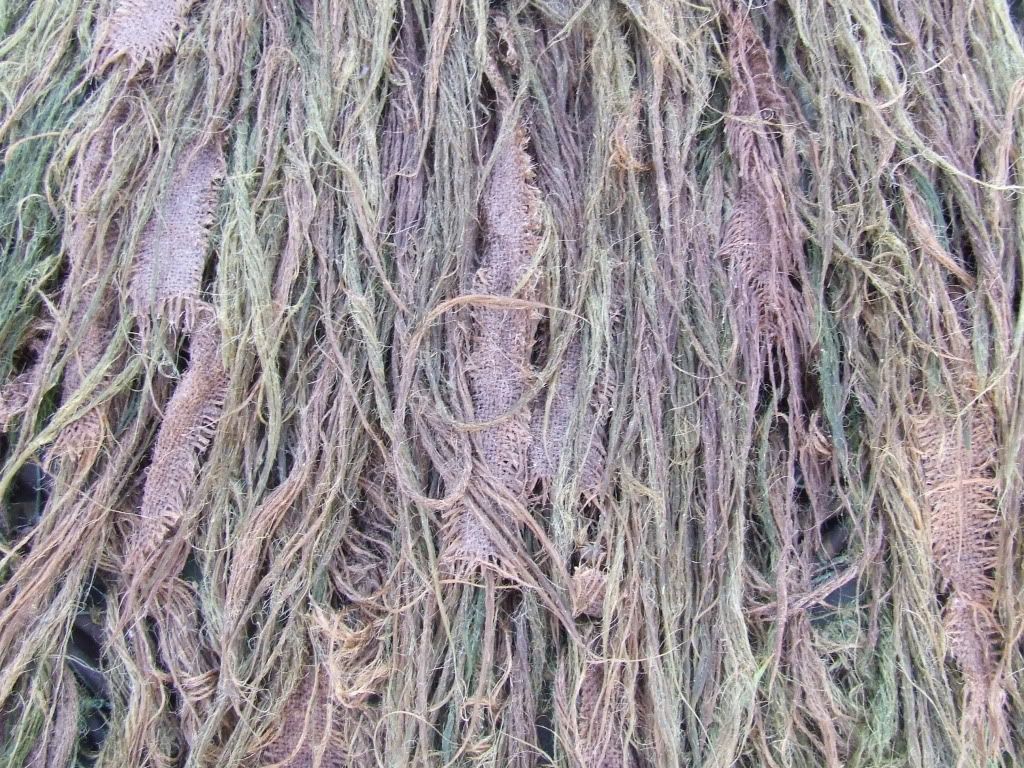
Some close-ups.
![Image]()
![Image]()
![Image]()
![Image]()
![Image]()
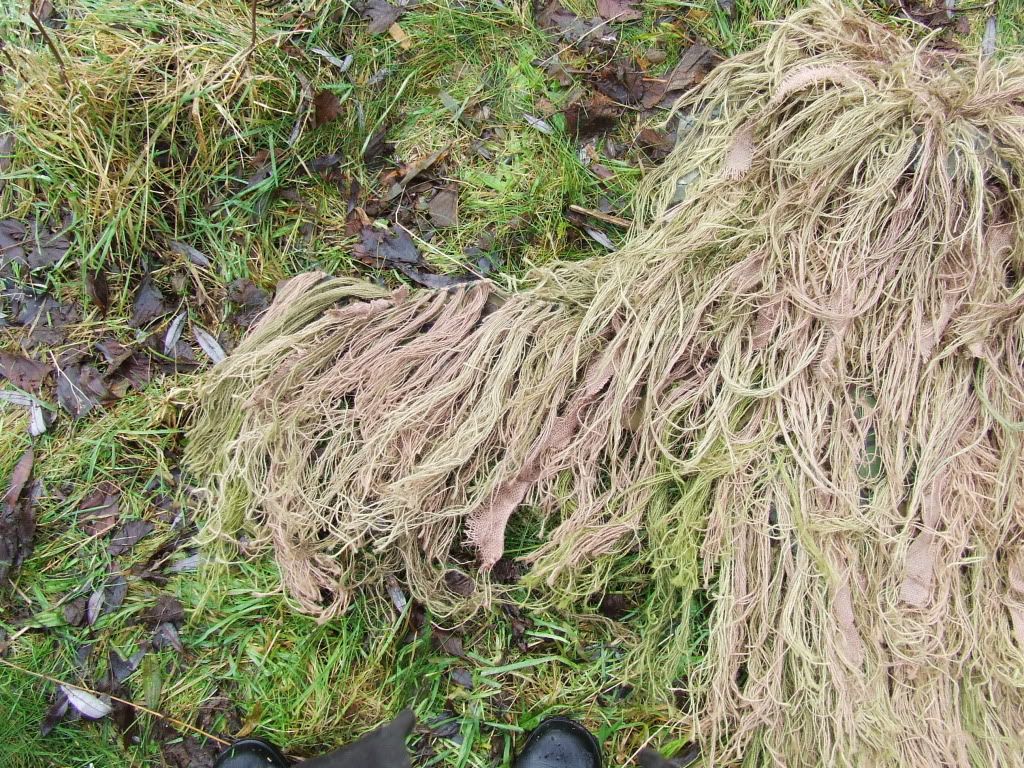
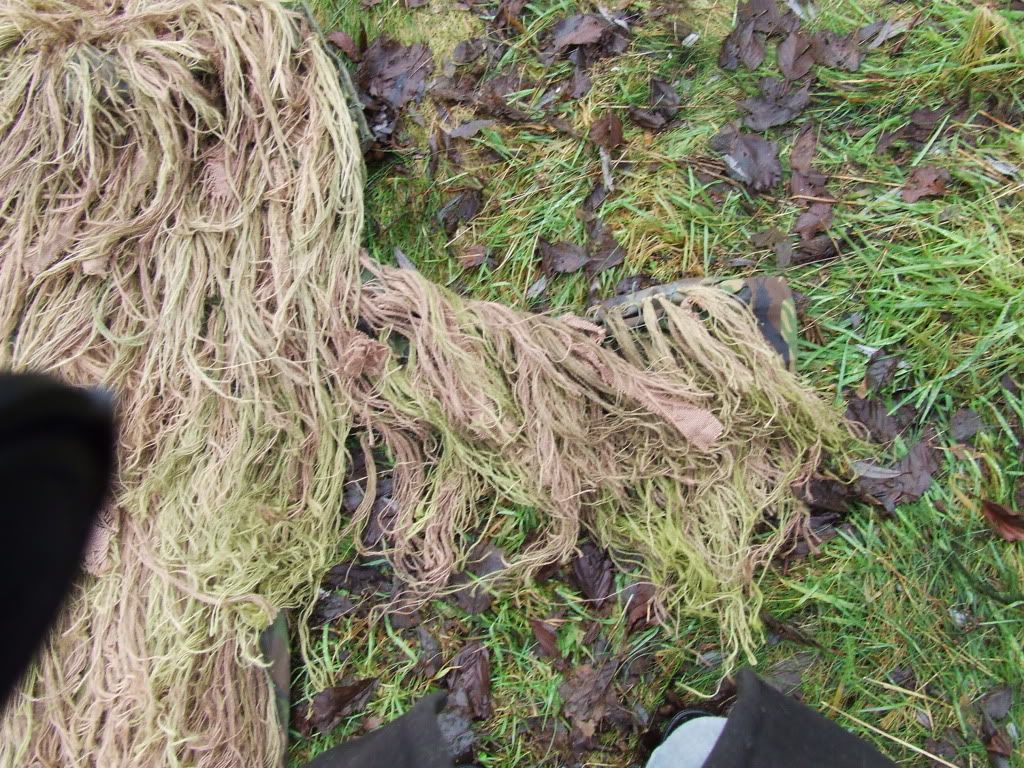
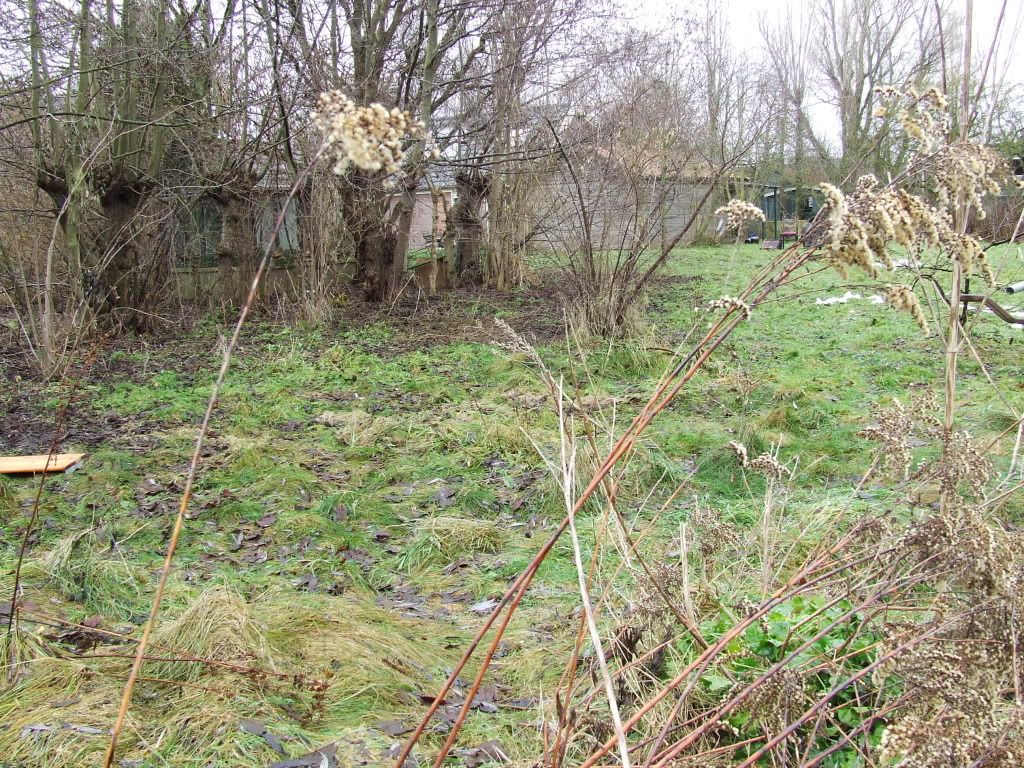
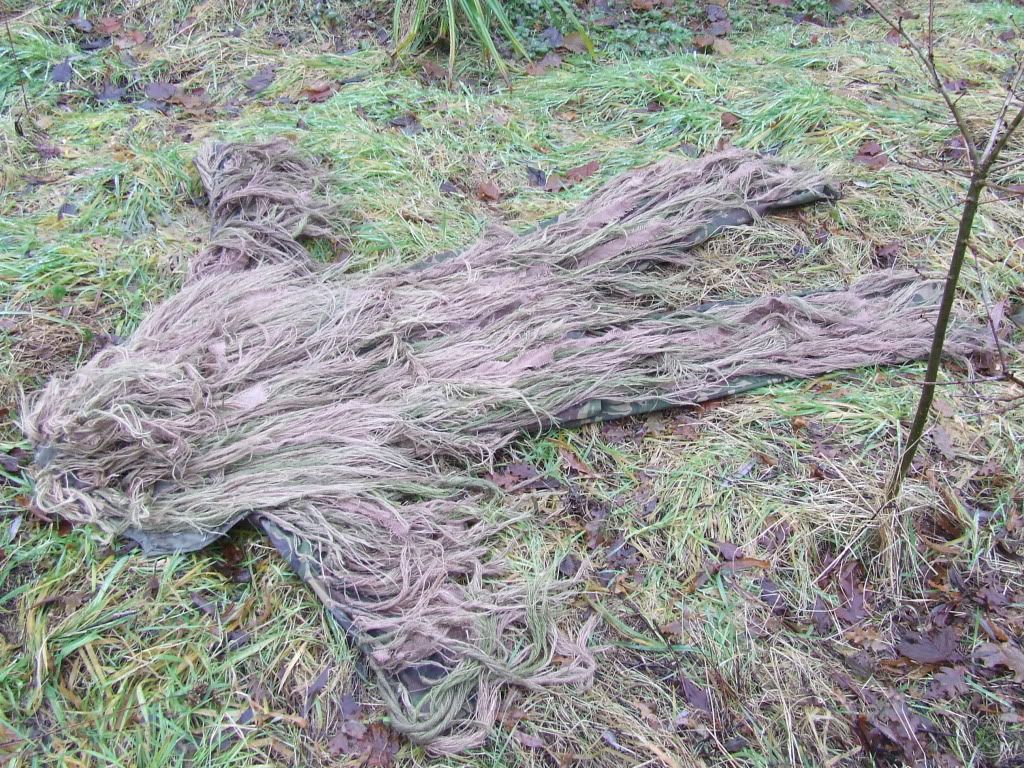
And some pics with it just lying around with vegetation.
Try and find it.(It's not that hard)
![Image]()
![Image]()
step VII, breaking in the ghillie
It's not me rolling around in the mud, I dragged it through the mud, dirt, grass and small rocks, but here it is in all it's dirty glory!
Ghillie all muddy and stuff.
![Image]()
![Image]()
![Image]()
Ghillie washed out.
![Image]()
![Image]()
I'm leaving it to dry now.
I guess it will take a while, it not that warm outside, but when it's not dripping water anymore I will take it inside so it can dry completly. As soon as it's dry I will take some more pics so we can all see the difference in color.
(update 12-1-11)
Ghillie is dry, sooner then I thought.
The colors are a bit faded and look better than before.
The jute doens't look that neat anymore and has started being a bit fluffy.
what else to say? ??? I think it's ready for a game
![Image]()
Here are some pics:
Ghillie lying around as usual.
![Image]()
Close-up.
![Image]()
Difference between not broken in ghillie and broken in ghillie.
![Image]()
![Image]()
I think it came out just perfect and can be used as allround ghillie.
All I need now is a pic of me actually wearing it, but I will post that in a different thread with all my other gear.
I hope this tutorial has helped you all a lot and if you see something that I didn't please let me know so I can change it")
I haven't been online for quite some time due to school, work, etc. etc.
I noticed that we didn't have a how to make a ghillie thread any more, and since I'm making a new ghillie I thought what the hell I'll make a ghillie making tutorial.
First of all, I'll probably say some things that other people said before me, like Ghillie Arnhem, the guys of the Art of Camouflage and lots of other people whose name I can't remember.
I want to thank them all for their info and don't get mad if I quote you.
some extra ghillie making info:
- building a ghillie takes a lot of time and effort. its usually not something you do in 1 afternoon.
- be sure to gather lots of info about constructing your ghillie before building one and don't forget where the info is stored, you'll need it as well when making the ghillie. you don't want to be starting all over with a new ghillie because the first one failed.
- Don't use any black! Black is not a natural color, you could instead use very dark brown or even very dark green.
- take jute for grassy areas, and burlap strips for leafy areas.
- when making your ghillie, either do it in the area you will play in, or take a pic so you know what colors to use.
Step I:
Buying the materials you need!
for my ghillie suit I used:
burlap (I destringed it after I had dyed it)
my BDU
a separate hood piece
netting on the backside of camo netting.
scissors
textile glue (I used Bison, but don't know if it's available outside the Netherlands)
dye (Dylon Dark brown, olive green, jungle green and pebble beige)
salt
buckets
and last of all a comfy chair and a good movie.
Step II:
sewing or gluing the netting.
you can either sew or glue your netting on your BDU's or flight suit.
sewing takes a lot of time and you need thread which is very strong.
If you don't have very strong thread, you can use normal thread.
All you have to do with the normal thread is sew more on the same place every time so eventually you'll have the same strength of the strong thread.
What I did was glue my netting on my BDU's, this is less time consuming, but it can be less strong then sewing it on.
here are some pics of my hood and my jacket both with the netting on.
Step III:
cutting the burlap in smaller pieces so it's easy to handle when soaking it in the dye.
don't cut it in strips of 1" because you will loose half of the burlap you bought. it's best to make squares of about 50x50 cm so all the jute you get out is equally long.
Step IV:
dyeing the burlap
Just read the instructions on the package of the dye, don't do what it says and fill a bucket with warm water, add some salt(should taste like the sea or something similar) add some of the dye and stir.
now grab your burlap and soak it in the dye, depending how much dye and water you used, you should leave it in there until you get the desired color. What I did was fill one bucket with green dye and one bucket with brown dye, so I could soak it in one then get all the water out and soak it in the other one so you never get the same color twice.
When the desired color is obtained, you let your burlap dry, but before it's completely dry, you want to start and destring your burlap, since burlap is easier to destring when wet.
some of my burlap in different colors.

Burlap destringed (jute).
my jute's camo qualities

Step V:
destringing your burlap.
Destringing your burlap is, like everything else, time consuming.
this is how you do it :
1. grab a thread
2. hold the other end of the burlap, either place rocks on it or hold
it in place with your feet.
3. pull the thread away from the burlap and toward you.
(sometimes you can do 2 threads together)
4. place the jute so that the middle of every thread is on the same
place.
5. when you have 3 threads left over, start pulling out the other
threads.
6. With the 3 left over threads, you will tie the bundle of jute
together.
7. put the bundle away and start on the next piece of burlap.
8. repeat until you destringed all the burlap.
Destringing:
pic of all my jute:
Step VI
tying in the burlap.
tying the jute on the netting can be done on different ways.
you can loop it underneath the netting, pull both ends through the loop and pull it tightly.
here is how to loop the jute step by step:
you could also tie in the jute by making overhand knots, this is quite useful to do on top off the head piece, so it won't all fall down.
*UPDATE*
After a few months I've decided it was time to finish my ghillie and upload this tutorial.
I've tied in all the jute and made some burlap strips, which I tied in at random spots.
I did this because I thought it was too green, and it was all jute.
The burlap strips act as "leaves" and adds more brown to my ghillie.
I dyed the burlap in 3 different tones of brown, light, medium and a bit darker.
When they were dry, I sprayed glue on it so that the burlap stays the way it is. I then cut it in strips of about 1 inch and pulled some jute on one end of it so it's not that straight.
I cut the other end in the middle for about 3 inches so I could tie it in my netting.
Its almost done now, all I have to do is break it in but I wanted to take some pics so you could see the difference.
Here are some pics of it just lying in my backyard without any vegetation.
Some close-ups.
And some pics with it just lying around with vegetation.
Try and find it.(It's not that hard)

step VII, breaking in the ghillie
It's not me rolling around in the mud, I dragged it through the mud, dirt, grass and small rocks, but here it is in all it's dirty glory!
Ghillie all muddy and stuff.


Ghillie washed out.
I'm leaving it to dry now.
I guess it will take a while, it not that warm outside, but when it's not dripping water anymore I will take it inside so it can dry completly. As soon as it's dry I will take some more pics so we can all see the difference in color.
(update 12-1-11)
Ghillie is dry, sooner then I thought.
The colors are a bit faded and look better than before.
The jute doens't look that neat anymore and has started being a bit fluffy.
what else to say? ??? I think it's ready for a game

Here are some pics:
Ghillie lying around as usual.
Close-up.

Difference between not broken in ghillie and broken in ghillie.
I think it came out just perfect and can be used as allround ghillie.
All I need now is a pic of me actually wearing it, but I will post that in a different thread with all my other gear.
I hope this tutorial has helped you all a lot and if you see something that I didn't please let me know so I can change it


